- Registering Server
- Migration
- Working with Terminal
Working with the Virtual Terminal
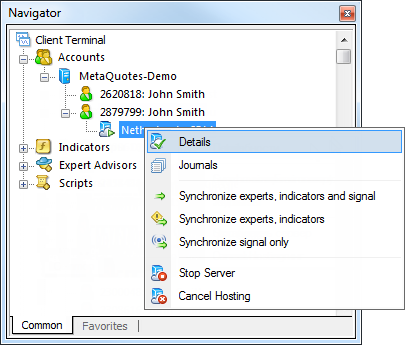
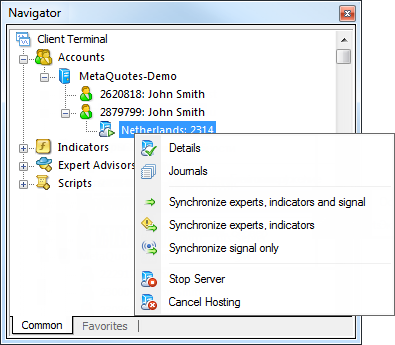
The rented virtual server status can also be easily monitored from the client terminal. The server's context menu in Navigator window allows you to:
- View the virtual server data.
- Synchronize the environment by performing the immediate migration.
- Request terminal and Expert Advisor operation journal.
- Stop the server.
- Cancel the hosting.
Watch video: How to Control Resources and Manage Subscriptions How to analyze the virtual hosting resources report and how to control your subscriptions - we show you in this video. |
Details #
To view the virtual server data, click ![]() Details in its context menu. The information is presented in several tabs.
Details in its context menu. The information is presented in several tabs.
Details
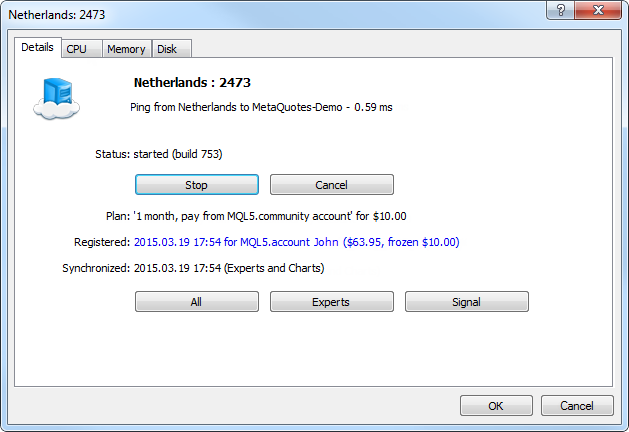
The following information is displayed here:
- Hosting server name and your virtual terminal ID.
- Ping in milliseconds displaying the network delay between the virtual server and a trade server of your broker.
- Virtual server status: started, stopped. Here you can also enable/disable the virtual server and cancel the rent.
- The service plan selected when registering the server.
- Registration date, MQL5.community account registration is performed to and the account's current balance.
- Last synchronization date and its type. Here you can also perform immediate synchronization of the current terminal environment.
CPU Usage #
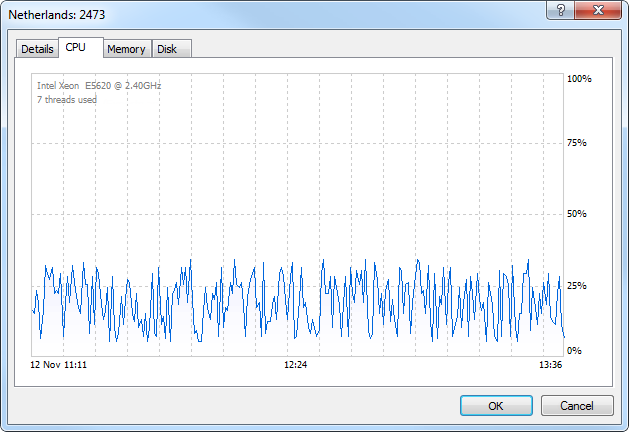
CPU usage graph is displayed here in percentage terms.
Memory Usage #
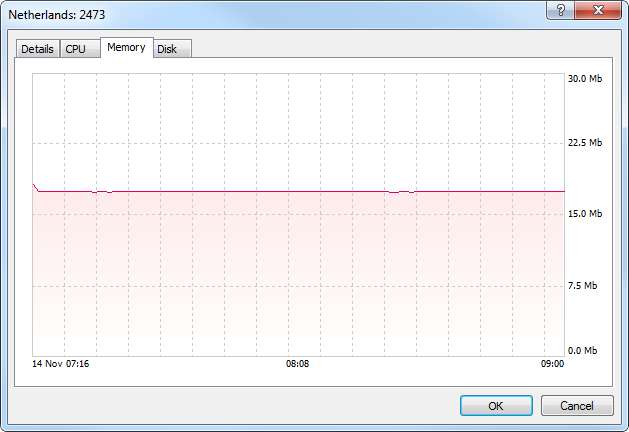
Memory usage graph is displayed here.
Hard Disk Usage #
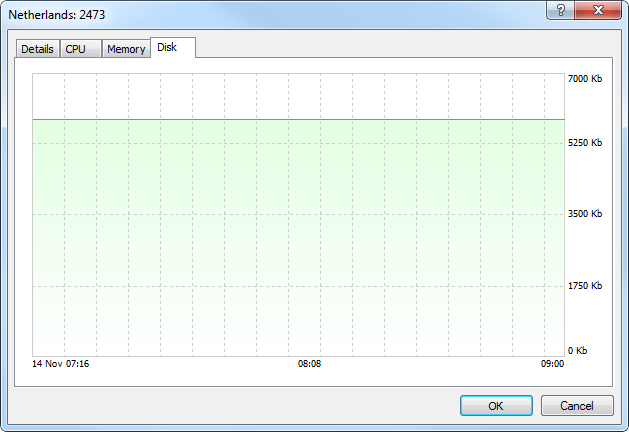
Hard disk space usage is displayed here.
Virtual Terminal Journal #
You can view the virtual terminal's journal to control its operation.
In the newly opened log window, you can set a piece of text the journal entries are to be filtered by and a desired interval. After that, click Request to download the found logs. Here you can also select the journal type:
- Terminal – logs about all events taking place in the terminal including trade operations.
- Experts – data on Expert Advisor and indicator operation.
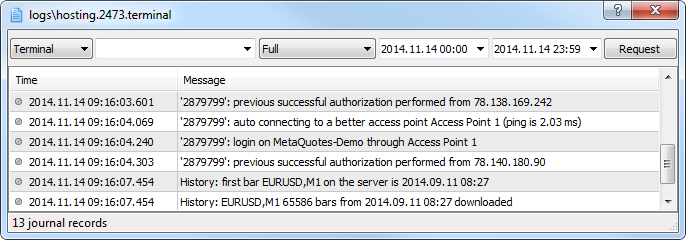
The virtual terminal's logs are updated during each request and saved to [terminal data folder]\logs\hosting.*.terminal\.
If a user requests too many records, then only part of the first logs for the specified period will be downloaded. This prevents performance degradation resulting from large logs. If you want to download further logs, you don't need to change the request period. Simply select the last line in the log viewer window and press PgDn. |
Stopping the Server #
Stopping the server means the temporary shutdown of the virtual terminal. This action is similar to closing the terminal on PC. It is performed by ![]() "Stop Server" command in the server context menu of the Navigator window.
"Stop Server" command in the server context menu of the Navigator window.
To launch the terminal, execute ![]() "Start Server" command.
"Start Server" command.
Canceling the Hosting #
Hosting cancelation means the virtual server is no longer provided and the virtual terminal is completely deleted with all data moved to it during the migration
No refund is made. The rental pay can be returned only within 24 hours after the virtual server has been registered. |
To cancel the hosting, execute ![]() "Cancel Hosting" command in the server context menu of the Navigator window.
"Cancel Hosting" command in the server context menu of the Navigator window.
Moving Hosting to Another Trading Account #
Virtual hosting is rented for a specific trading account, but it can be moved at any time. Open the "Hosting" section in your profile at MQL5.community.
Find the required subscription, click on the gear button and select "Move". Then specify a new trading account (login) and a new server (broker) if necessary, then click "Move".
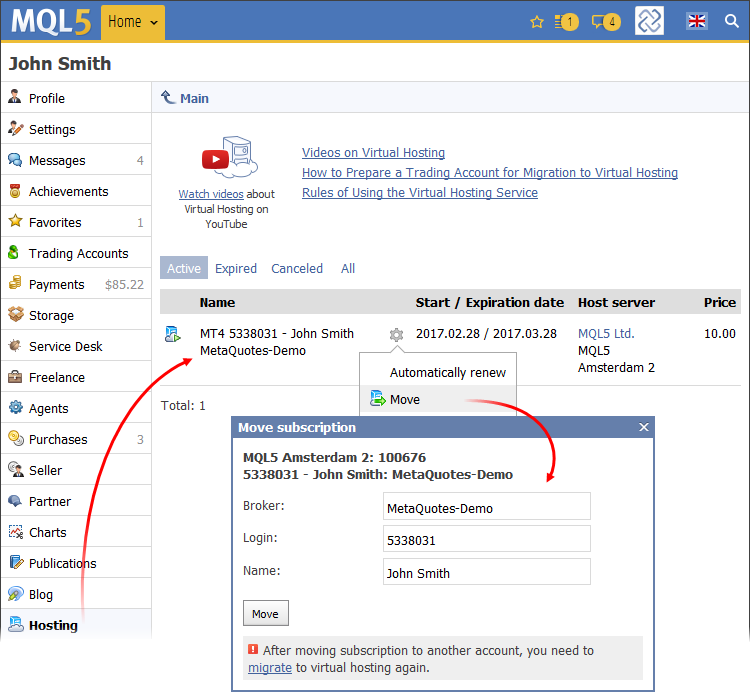
Open the trading platform and connect to the account, to which the hosting has been moved. Using the account context menu in the Navigator window, start the server and migrate your trading environment.
